

NB: Before switching on the inverter and battery, please ensure that all cables are secure and DIP switches on the battery are programmed correctly. Kindly note that the DIP switches on the inverter are only used when you parallel more than one Luxpower SNA5000 inverter.
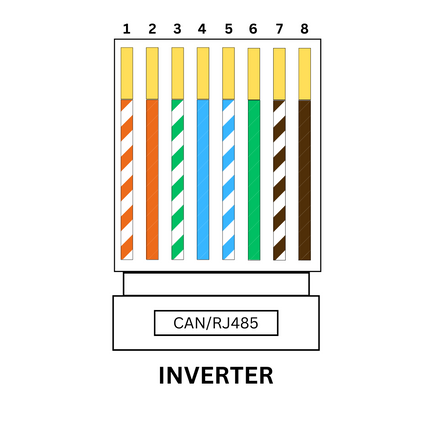
Communication Cable Requirement:
Step 1: Connect the battery’s positive & negative terminals to the inverters terminal port. (Avoid reverse polarity connection as this will short-circuit the inverter and battery)
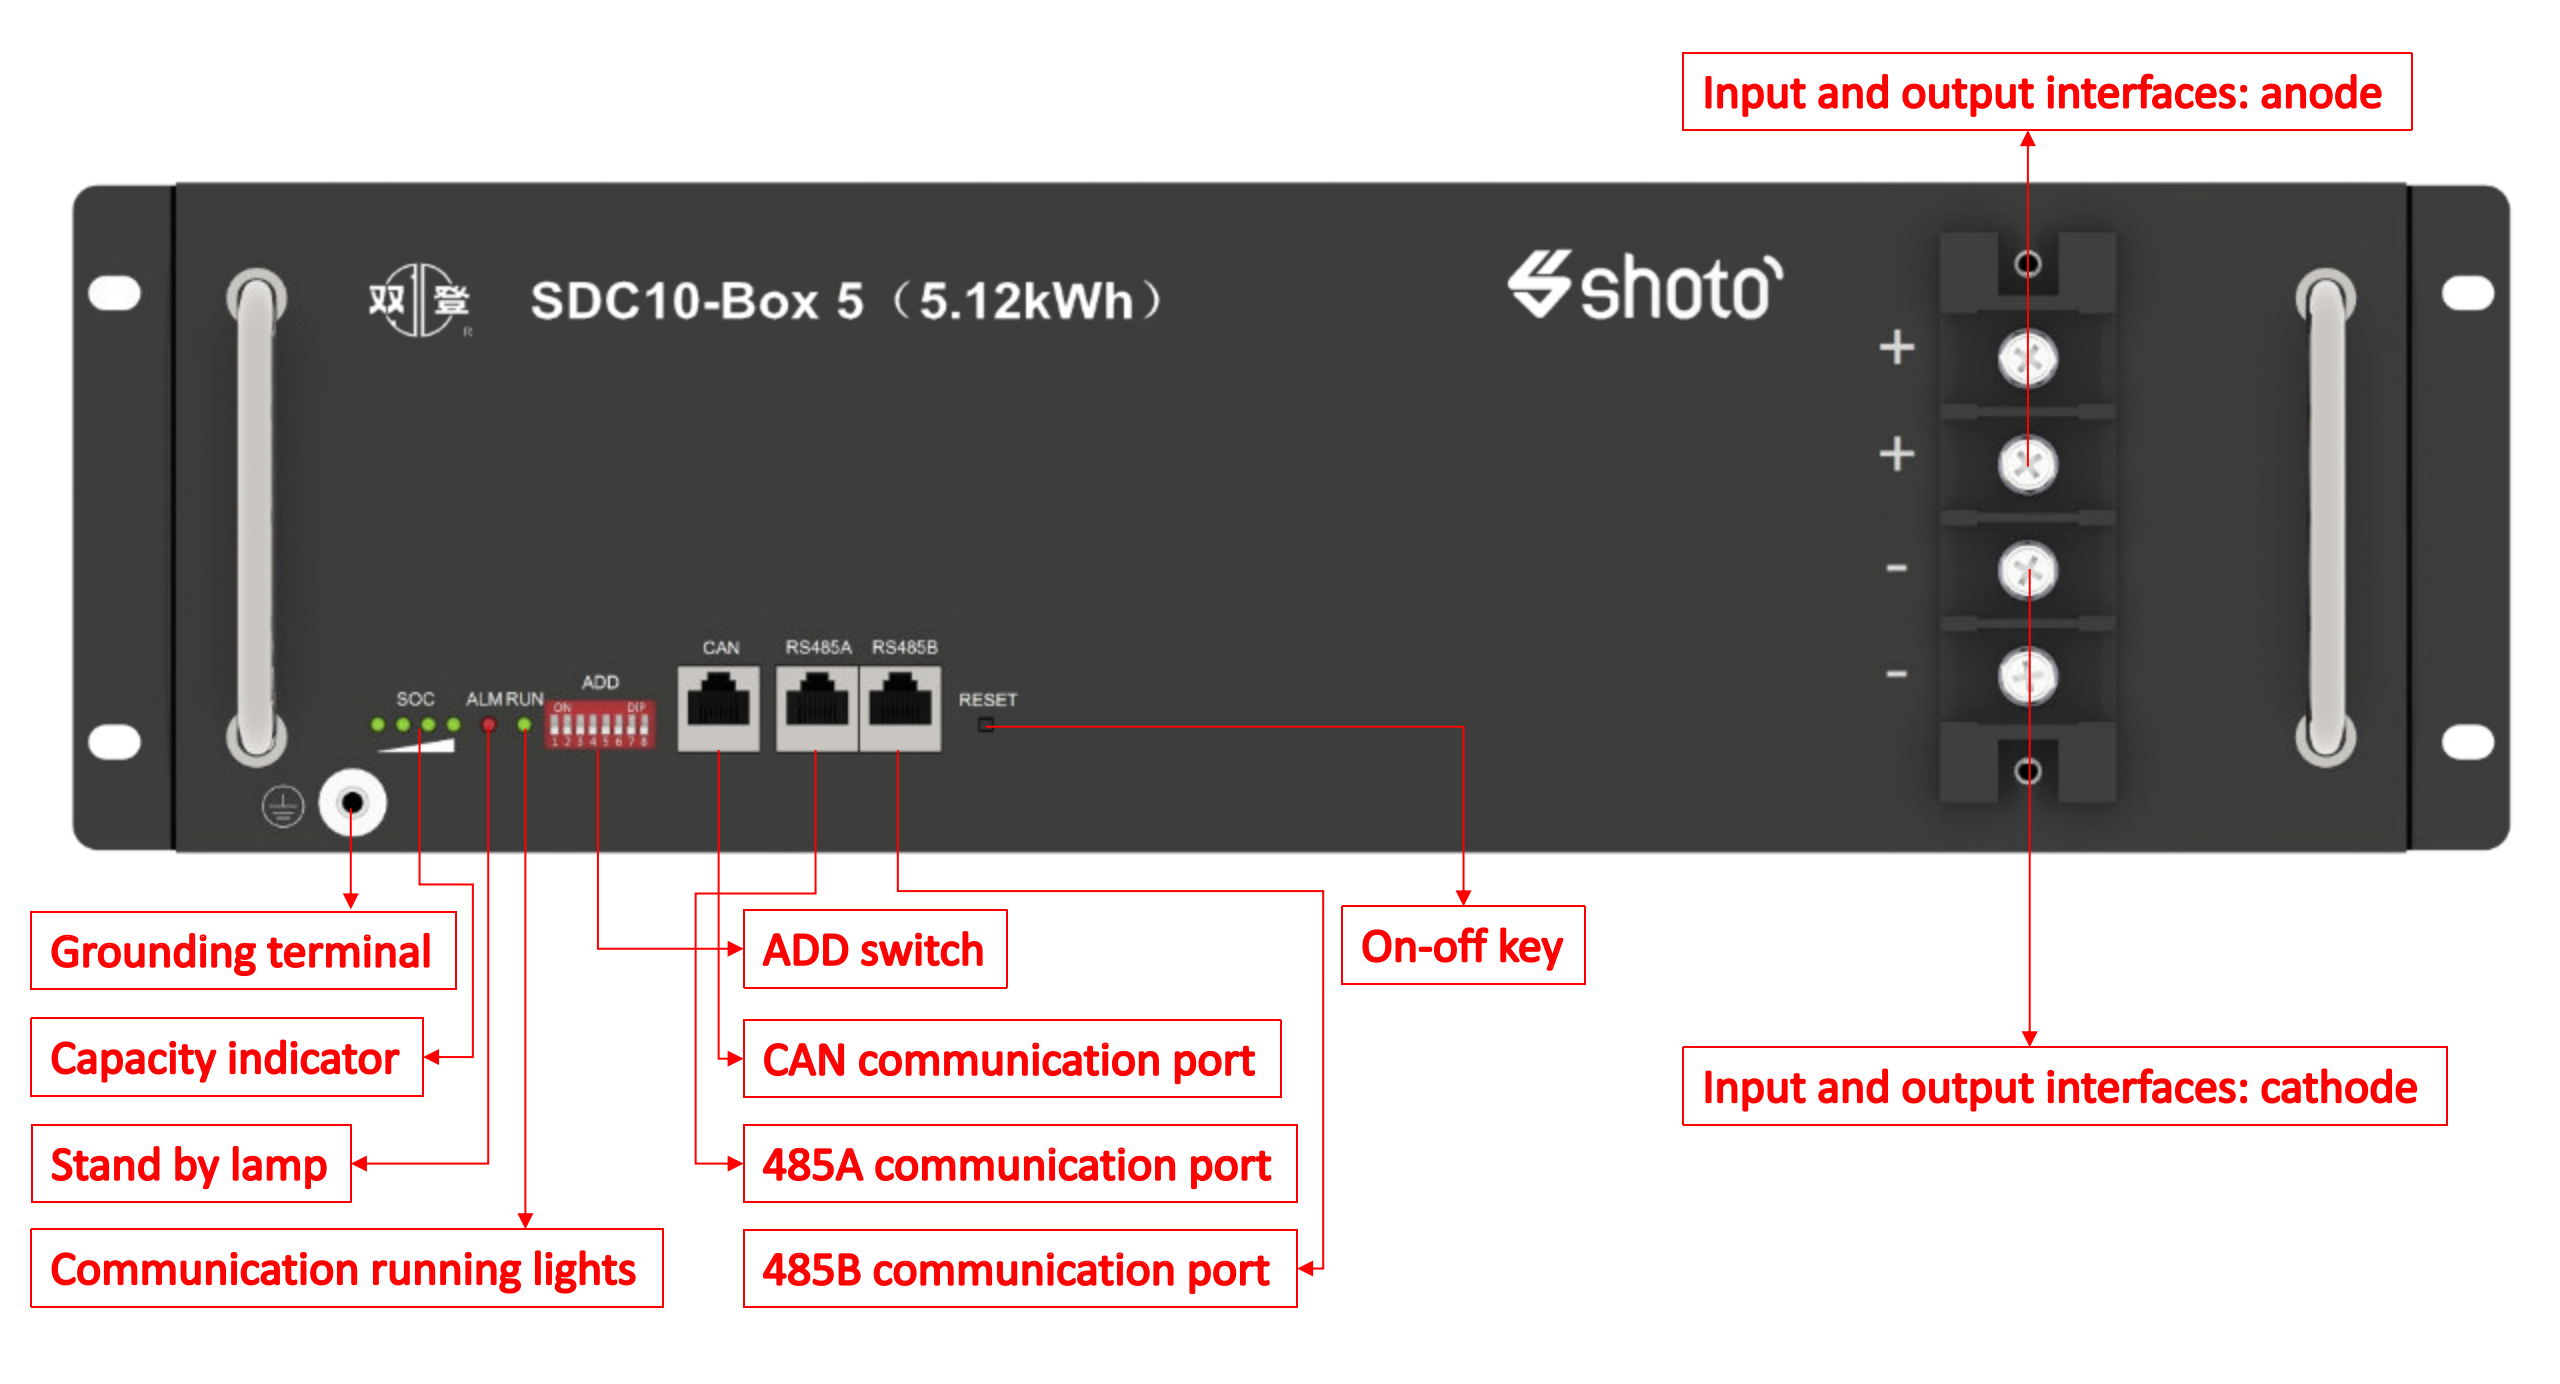
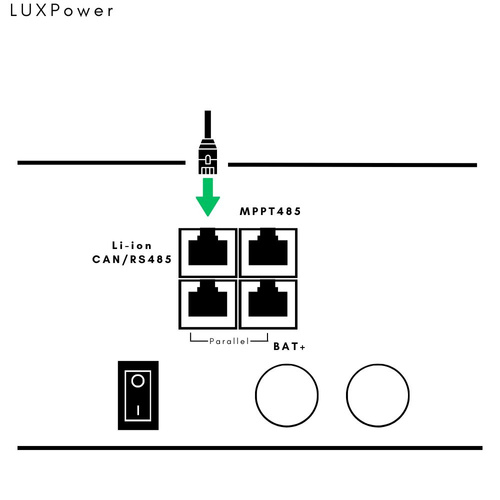
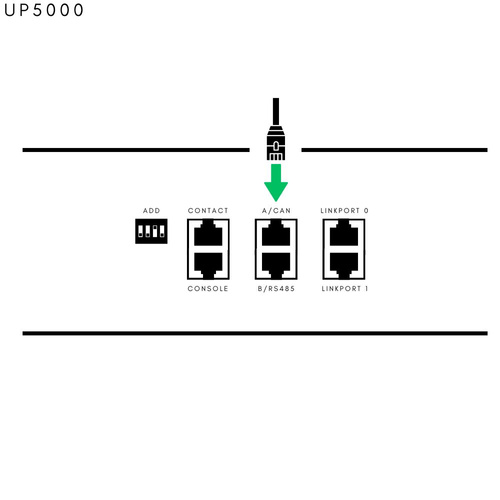
Step 2: Connect the communication cable to the Pylon UP5000 “A/CAN” port and then into the LuxpowerTEK SNA5000 inverters “CAN/RS485” port.
Luxpower SNA5000
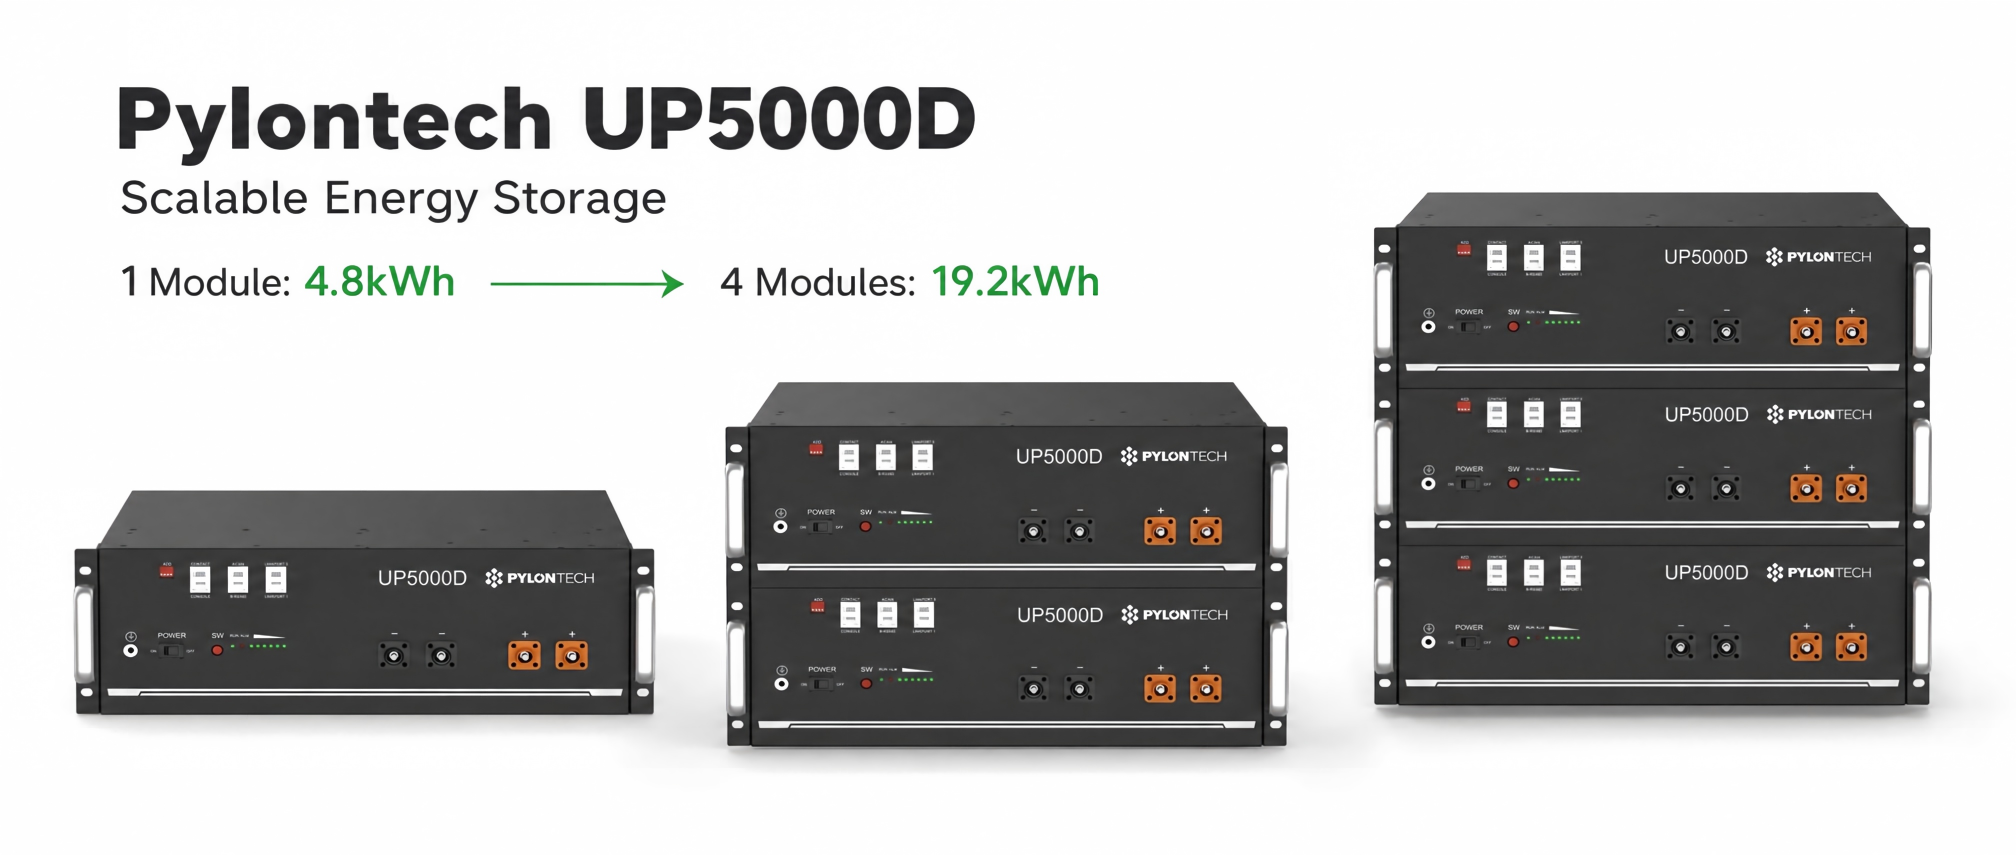
Pylon UP5000
Step 3: Program the DIP switches on the Pylon UP5000 as displayed below.
DIP Switch Guide for 1x Pylon UP5000
NB: For an extensive guide on how to connect the Pylon UP5000 in parallel, please refer to our “Product Guide Series
Step 4: Power on the Pylon UP5000, then power on the inverter by switching the Power and EPS switches in the on position.
Step 5: Program the battery settings on the Luxpower SNA5000 to sync up with the Pylon UP5000 BMS
Hold the “Enter” button for 3-4 seconds or until inverter begins to beep quickly. This will take you into the setting page of the inverter.
Once you are on the setting page, the display will change to include a 01 code next to a spanner icon.
Press the “Up” button to cycle to setting 03.
Press “Enter” once you are on setting 03.
Choose battery type “Li-ion” then press “Enter”.
Cycle to Bat Brand “2” for Pylon, then press “Enter”. The inverter restart.
Once the inverter restarts, wait a few seconds for the normal light to switch on. It will be a green solid color.
Successful communication will display the battery SOC level as an icon and as a percentage. You can also press the “Up” button to cycle through display information on the LCD to confirm if the battery capacity is correct.
Congrats!
YOUR LUXPOWER SNA5000 INVERTER IS NOW COMMUNICATING WITH YOUR PYLONTEK BATTERY!

Add comment